If you’re looking to roll your own joint, you’ve come to the right place. In this blog post, we’ll help you through the steps necessary to get you becoming a pro roller.
Things you will need to roll a joint
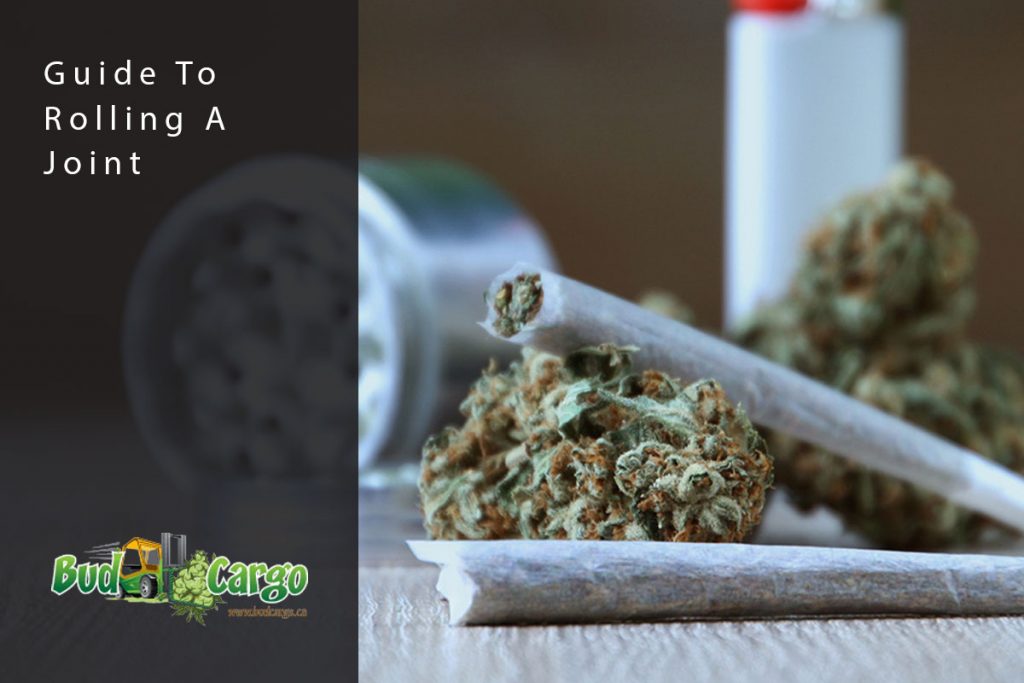
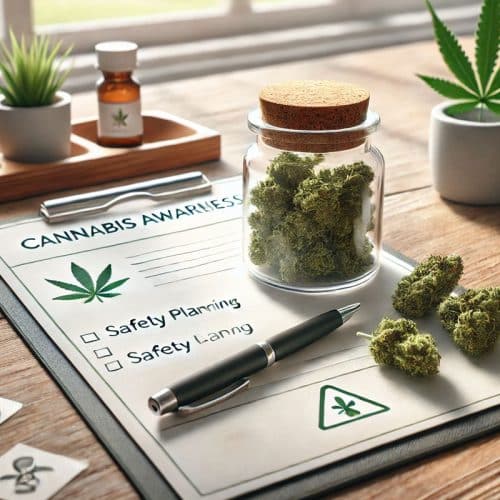
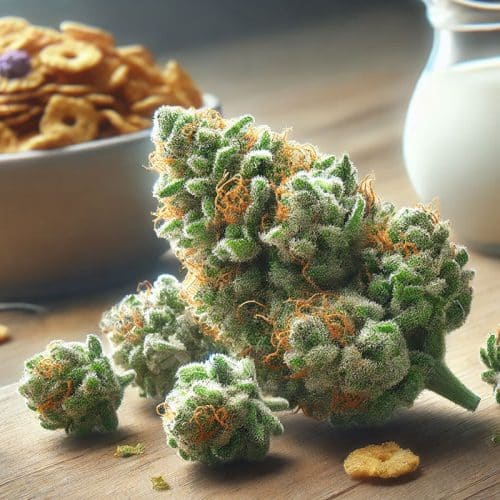
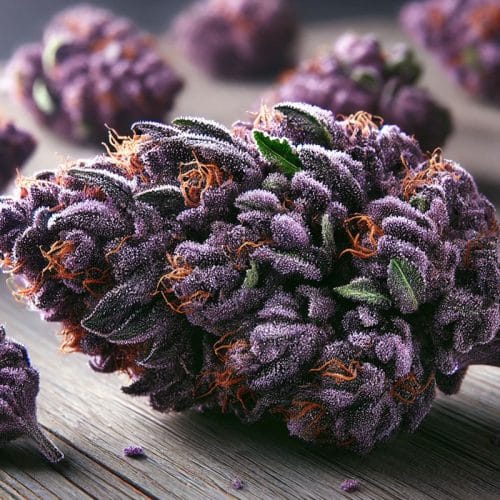
Before we start rolling we are going to need a few materials to get started. Cannabis flower, a weed grinder, rolling papers, a booklet of filter tips, and a lighter or matchbook.
Don’t feel obligated to drop a ton of cash on a fancy grinder. If you’re new to joint-rolling, a basic model will work just fine. You can always decide later if you want to step your game up. Similarly, you don’t necessarily need to buy filter tips, but they sure are more comfortable to roll than ripped-up pieces of cardboard
The rolling process
We recommending using a 1/2 gram of marijuana and the standard 1 1/4 size rolling papers for your first practice roll. A 1/2 gram is a fair amount of weed for a couple of people, and starting on the smaller side will make rolling your joint easier.
Step One: Grind Your Cannabis Flower
Put your cannabis into your grinder until it is all evenly grinded. Start somewhere between one and two grams before getting more ambitious in your joint rolling ventures. Ensure all stems are removed from your grinded cannabis. Leaving stems in invites the risk of a tear developing in your joint down the road so it’s better to avoid that situation altogether by just taking them out.
Step Two: Create a Filter Tip
By adding a filter in your joint this will bolster airflow while minimizing the chance of any cannabis making its way into your mouth. This is an overlooked step, the filter of your joint has a much larger impact on how the finished product turns out than many people realize. There are a variety of filter rolling methods, but in my experience, I’ve come to prefer the “spiral method.” Start by making the smallest fold you can at the end of your filter paper, this will serve as a leverage point so you can roll into a spiral shape. Something to keep in mind while rolling your filter is that, if rolled correctly, the circumference and size of your joint will reflect that of the filter. For a larger joint, roll a looser spiral so that it expands into a larger filter, and for a smaller joint, roll a tighter spiral so the circumference of your filter is smaller. The best part about the spiral method is that it allows you to freely adjust the size of the filter, at any point in the joint rolling process, you can tighten or loosen the filter to better fit your joint.
Step Three: Pre-Rolling Preparations
Once your weed is grinded and your filter is created, you’re almost ready to roll. To start, you’ll want to place your filter at either end of your rolling paper (make sure the adhesive strip is facing you). If you’re left-handed, put it in the far right end, the opposite goes for those who are right-handed. Next comes one of my favorite parts, adding the weed. What you’ll want to focus on here is making sure that the cannabis is evenly distributed throughout the rolling paper, make filling it from where the filter ends to at least ¾ through the entire paper (the rest can be packed into the joint towards the end of the process), this will ensure that no air pockets form within your masterpiece so that it can burn evenly and smokeless harshly.
Step Four: Get Rolling
Once your joint is sufficiently packed, roll the lower lip of the paper (the end closest to you) downward until it touches the filter. From here, roll it upwards just a little bit so the lower lip of paper becomes tucked behind the filter. Once the lower lip is tucked behind the crutch, you’re in the clear. Rolling the side of the joint with the filter will guide the rest of the paper, just make an effort to roll the other side evenly as well so your joint doesn’t become a cone (unless that’s what you’re going for), so take your time here and relax knowing that you’re all but done creating your masterpiece.
Once your joint is entirely rolled, it’s time to seal it. While many lift the lip of the joint to directly lick the adhesive strip, I prefer simply leaving it in place and licking along the adhesive strip from the outside, your saliva will permeate the thin rolling paper allowing you to seal your joint without running the risk of messing it up at the last step. With your joint sealed, you can choose to pack more into it by using the mouth of the joint to scoop up leftover cannabis and using a pen, chopstick, or whatever else you may have kicking around to pack it down until the joint is filled to your liking.
Conclusion
There are different variations in rolling a joint. Find one that you like and let’s get smoking! Visit Budcargo.net for all your cannabis needs.






You must be logged in to post a comment.